Try and try again
After a lot of research and landing on Saddleworth, the next challenge was to plan how to fit it sensibly into the space, which I calculated to be about 1.2m x 4.8m or thereabouts.
The biggest constraint was the depth. Why? I wanted a double track continuous loop so the inner loop would have the sharpest curvature, and I needed it to look relatively realistic. Minimum radii where coaches overhang the track is what I was trying to avoid.

I also needed to have sufficient space in the centre of the layout to operate it.
Books
So, I got access via the library or actually purchased several track planning books. C.J. Frazer is a good source of ideas but be careful about the dimensions as he tended to pack things in.
BRM’s track plans series (3 volumes) is good as it shows actual built layouts and covers of the pros and cons of each of the plans as well.
Peco Modeller’s Library is good as well and the volume on “Your Guild to Modelling and Layout Construction” was especially good. In fact an unnamed plan somewhere in the first pages was how I started the design of my own plan.
Making progress
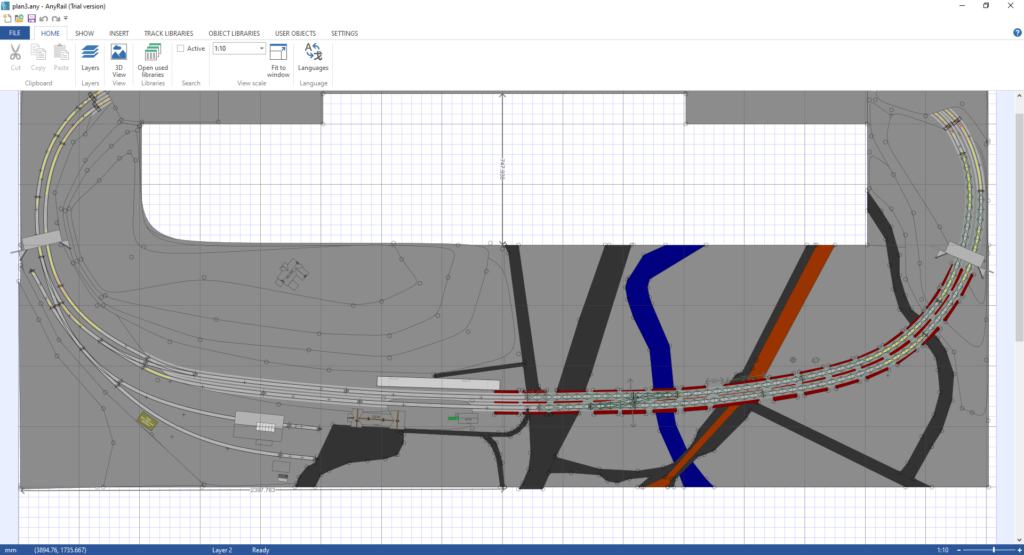
Here’s my 4th AnyRail version. What’s quite nice about the software is I can set limits for curvature and it will go from yellow (not good but OK) to orange (avoid if possible) to red (too small) based on what you are happy to have as minimums.

You’ll notice that there is a missing section around the back. That’s basically where the fiddle yard was going to go and given the depth issue, I was not sure how to do this. Often fiddle yards are ladders of points to store the trains but that clearly takes up space.
.png.d1f8dae29cf1aa90b17e63c02d8575c6.png)
One approach was to create a vertical fiddle yard. Some pretty ingenious designs are out there and even a commercial one, but it seemed too complex (or expensive) especially as I wanted a degree of portability, so I designed a cassette system that formed part of the loop. This isn’t typical as cassettes are more common on terminus-style layouts. I’ll do a seperate post on this and it’s all still a bit conceptual (it’s half but as a write). I also cut into the front section to provide a bit more operating space.
Finally…
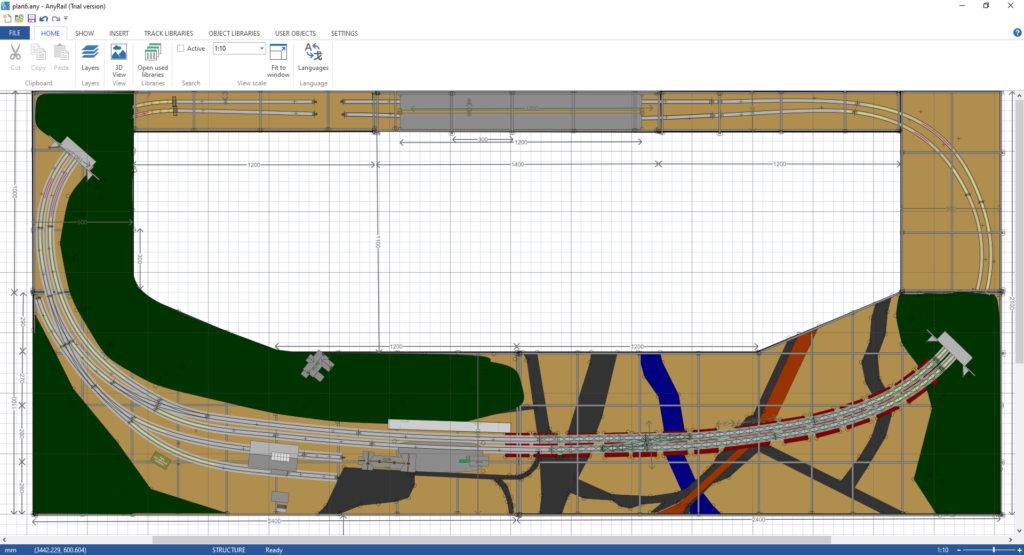
After a few tweaks, here’s version 6:

You’ll notice I’ve moved the tunnel on the viaduct forward to essentially reduce the number of arches down to 14 from 16 (and much less than the prototype’s 23). That also hid the curve better. The cutting on the other side has a similar “curve-hiding” effect.
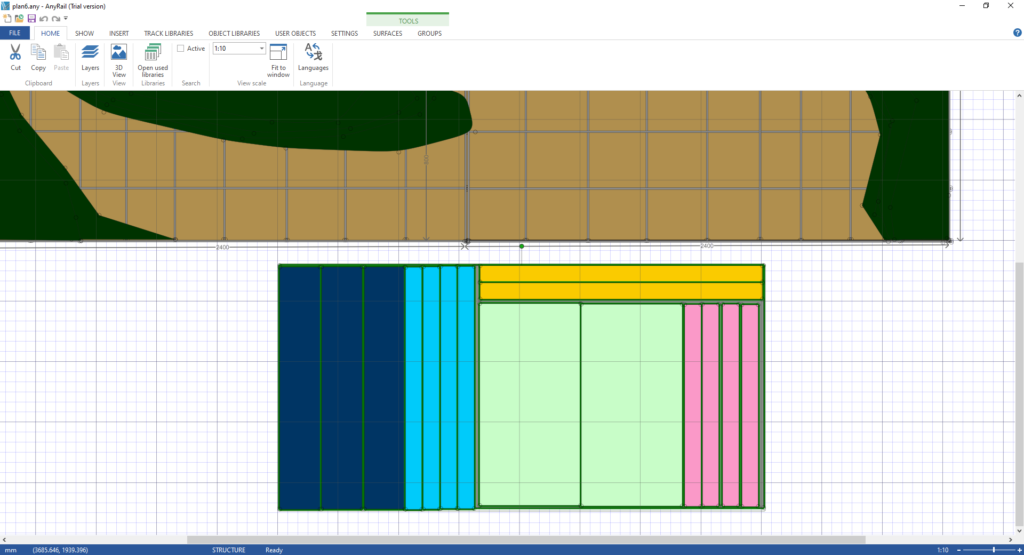
You’ll notice I’ve got a crisscross pattern in grey on the plan, which is the plywood framework design, which I used to work out how to cut up the 9mm plywood I’m using for the baseboard. Again, I used AnyRail to plan out the cuts on a 1200mm x 2440mm board so I could take a printout to Bunnings and get the basic planks cut out. This is apparently a hit a miss thing with Bunnings but the Boral branch was really quite accurate.

