Fixing up the space
To the garage…
Although I potentially had a usable space in the garage, it wasn’t really in the shape to be warm enough, secure enough, clean enough or protective enough. As my wife pointed out, why spend loads on a layout only to have it damaged from moisture?
So I basically had to start with a concrete slab bunker and decide how to turn it into something suitable for my layout.
Basically I looked at 3 things. 1: Outside brick wall with a broken window looking at nothing. 2: A concrete slab roof with a leak. 3: Concrete floor that regularly gets water coming in.
The wall
So, I started with the wall, bricking up the window with cheap Bunnings blocks. I then hired a nail gun and bought a proper masonry drill to attach the wooden framework, offset a little from the wall, with a plastic membrane behind it. The top and bottom studs where bolted into the roof and floor with Ramset bolts.
Once the bolting was done, I used a nail gun for the first time to nail in the other studs. Not that simple to judge where the nails would strike but I mostly got the hang of it. Fingers remained intact.
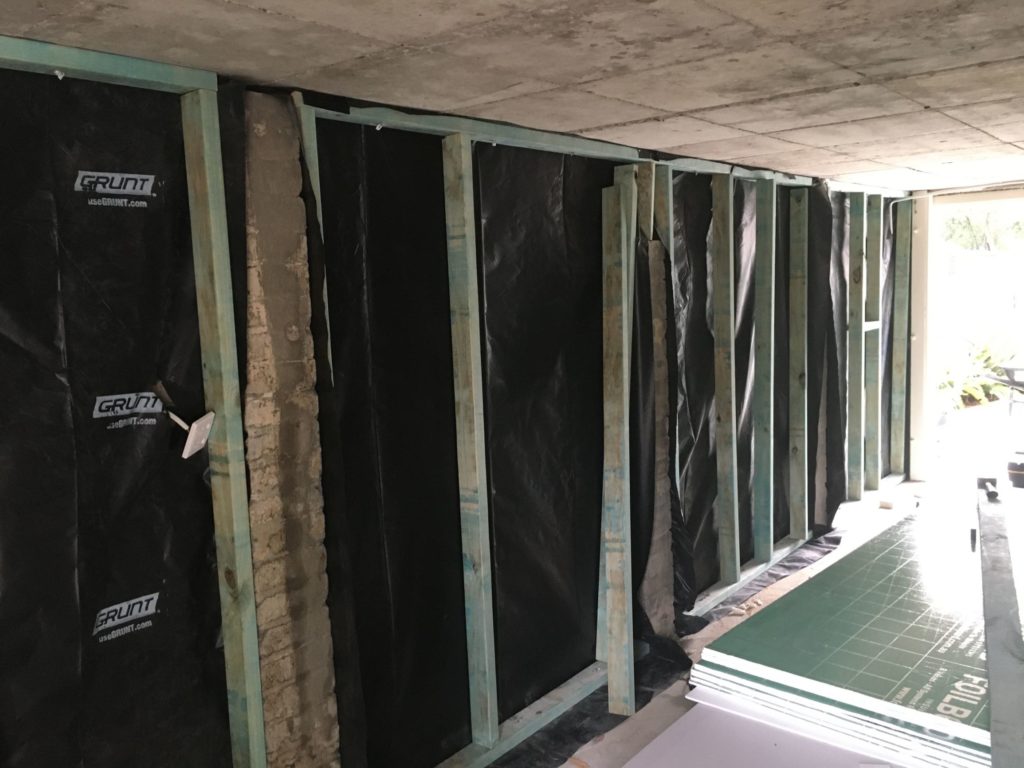
I then packed in insulation wool between the gaps, but kept the existing vent which you might be able to make out on the bottom right of the second photo below.
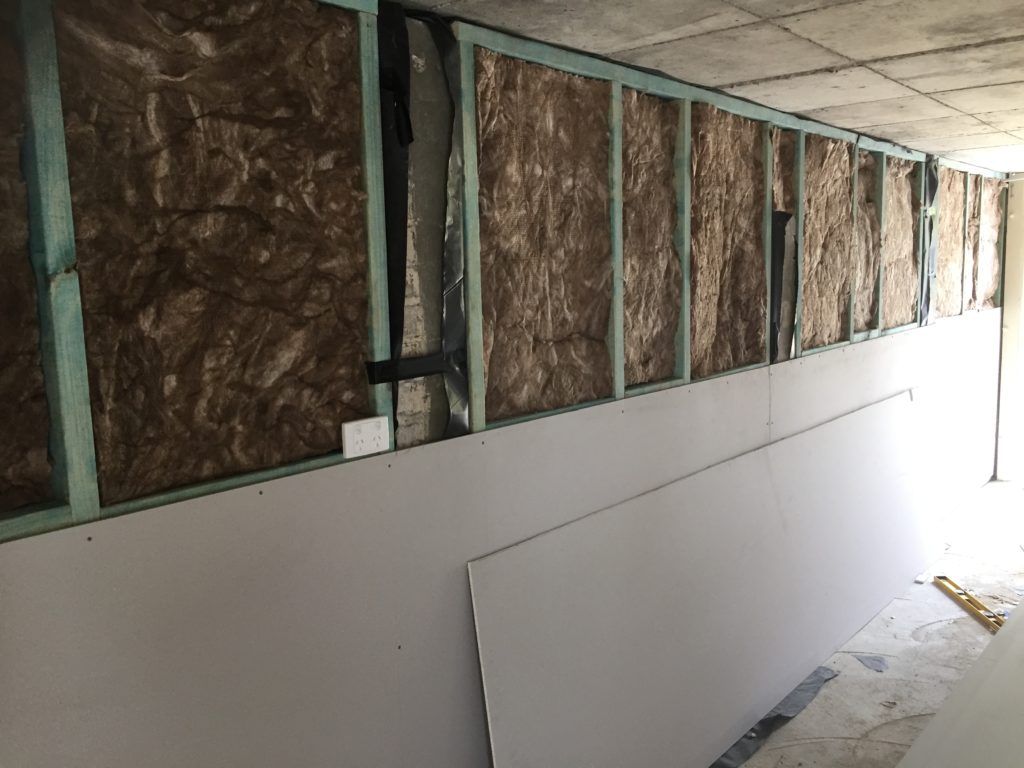
Once that was done I covered the frame with plasterboard, screwed into the frames. This step definitely needed a second pair of hands so luckily my teenage son was around to help.
Here’s the view once the bottom half of the plasterboard was put in:
Now the floor
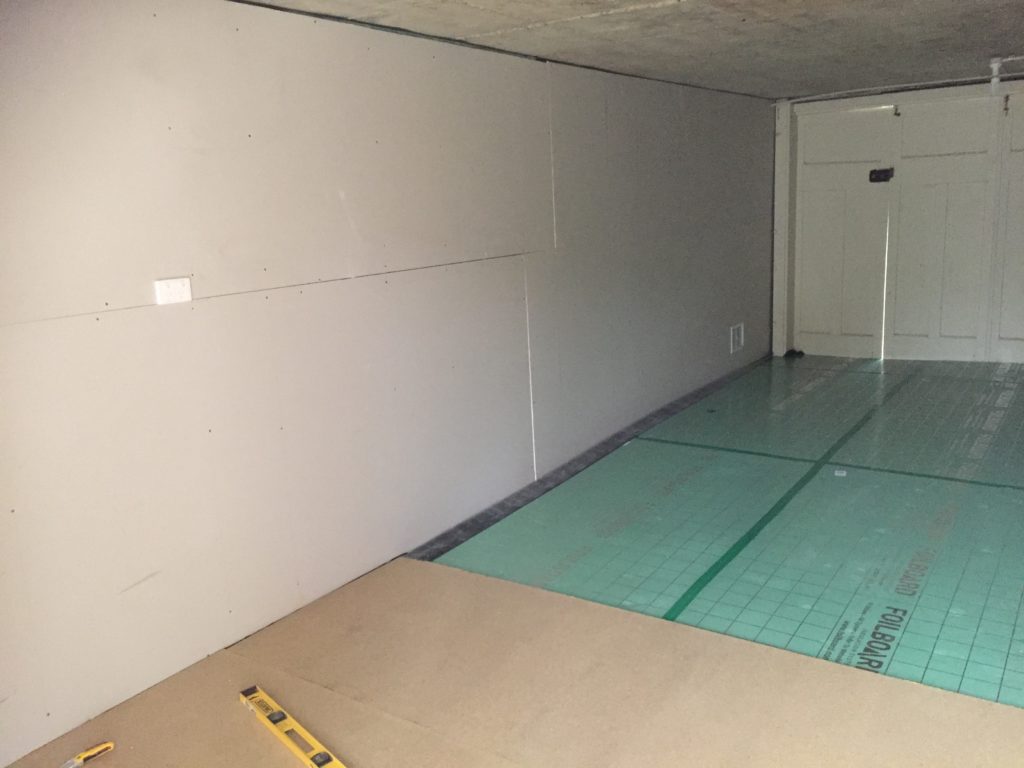
Next step was the floor. I decide to go with a floating floor using a plastic membrane with a foil-board on top, then a particleboard floor next, topped off by a vinyl covering. I also decided to cap the two door ends with an L-shaped plastic coving to prevent any water/debris from coming into the garage.
Eek, the roof
Next was the one I dreaded. The ceiling. Depending on where I looked on the interwebs, the basic answer was ‘insulate the top. i.e. the roof’. Unfortunately the roof is actually a patio so that wasn’t an option. As a comprise, we re-surfaced the patio using a special kind of liquid waterproof membrane. This was primarily because of this crack which dropped water if there was a deluge (which Sydney is apt to throw out there a few times a year)
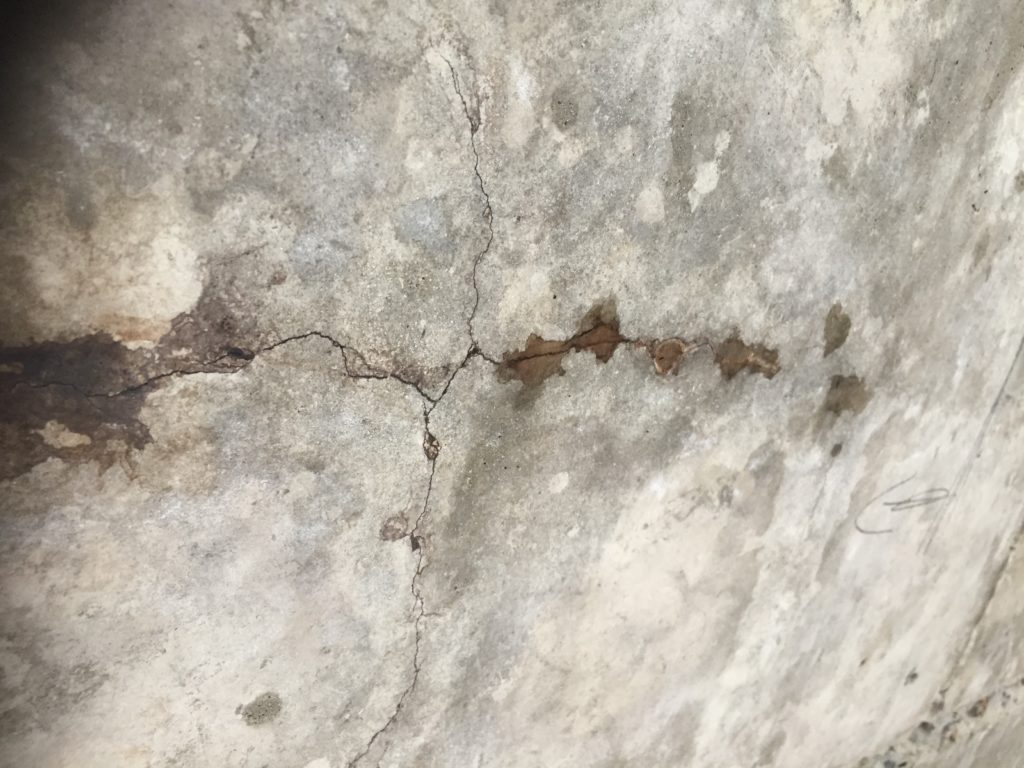
So, how to solve the insulation bit, now I’d hopefully solve the leak problem. Lots of costly methods involving doing to the roof what I did to the wall was the common refrain. I wasn’t keen on doing this by myself whilst working effectively upside down.
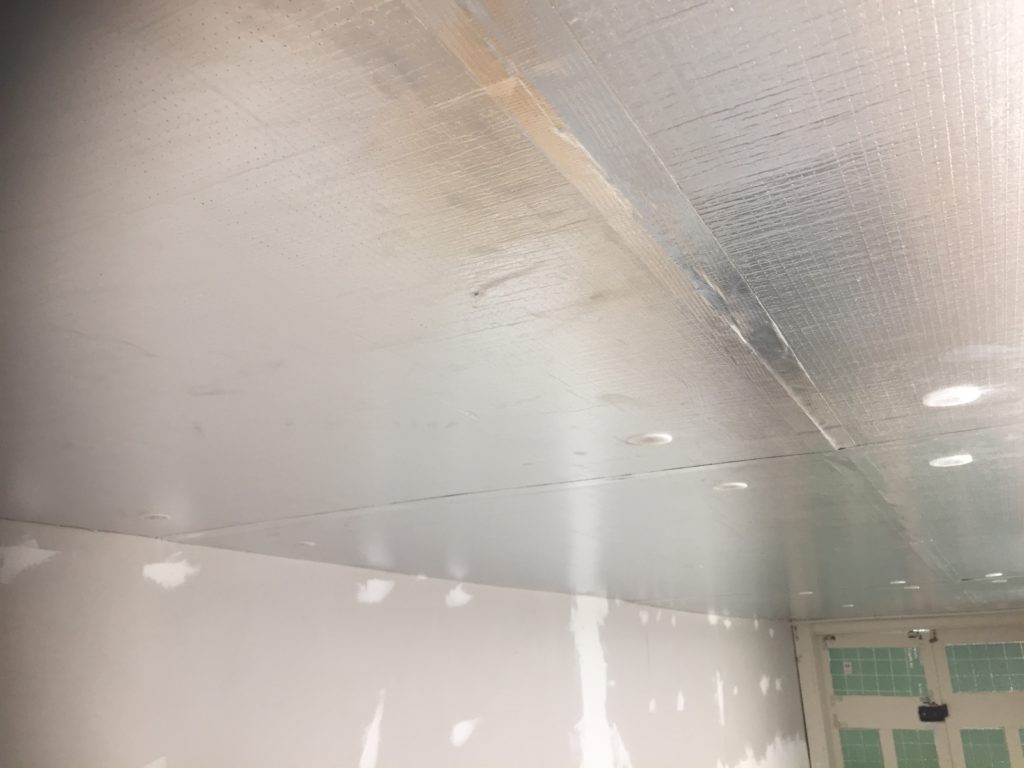
I decided in the end to use a material which is designed for car park roofs. A bit expensive but labour saving. It’s called KoolTherm Sofit Board by KingSpan. My biggest mistake, however, was to take the advice of a Bunnings employee that suggested I could use some ultra-tack glue to attach the boards, no worries. Yeah, right. Absolutely no sticking ability with the KoolTherm.
I then looked into the fixing methods KingSpan suggested but basically it required special fixings that came in boxes of 500 and used a specialised gun. I think $2000 worth of cost. Instead I found a supplier of nail-in plastic fixings that did the job for far less cost, although I did need to drill through the board and concrete with my masonry drill to do that, so a bit more work.
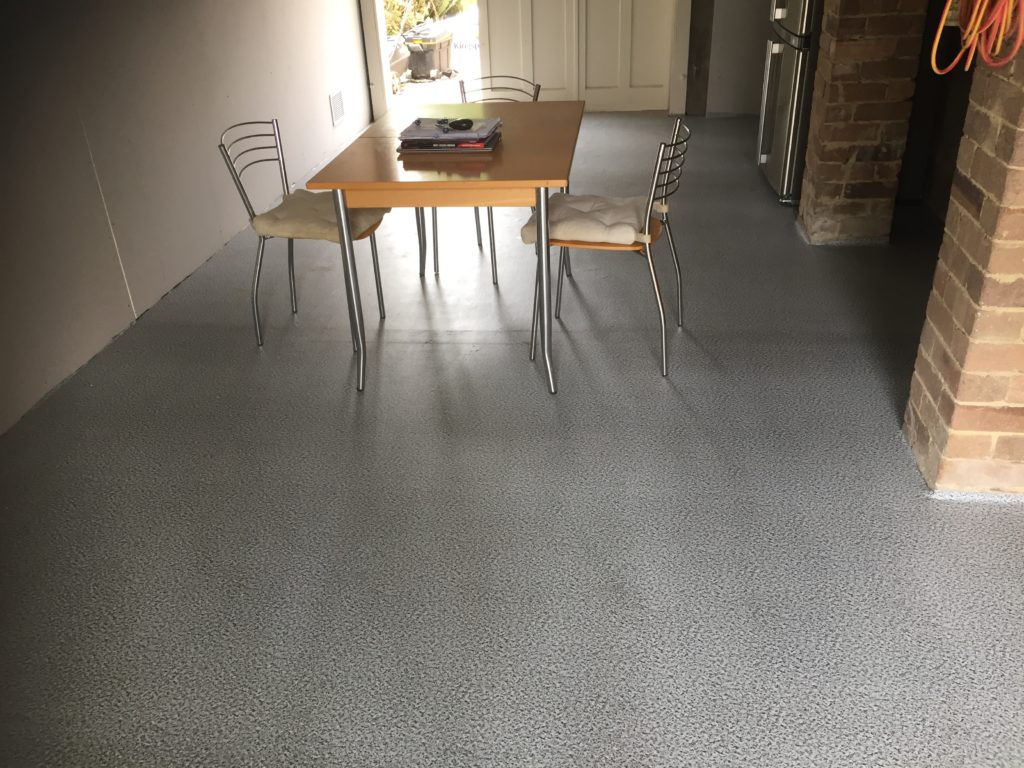
Here’s the floor with the vinyl now added.
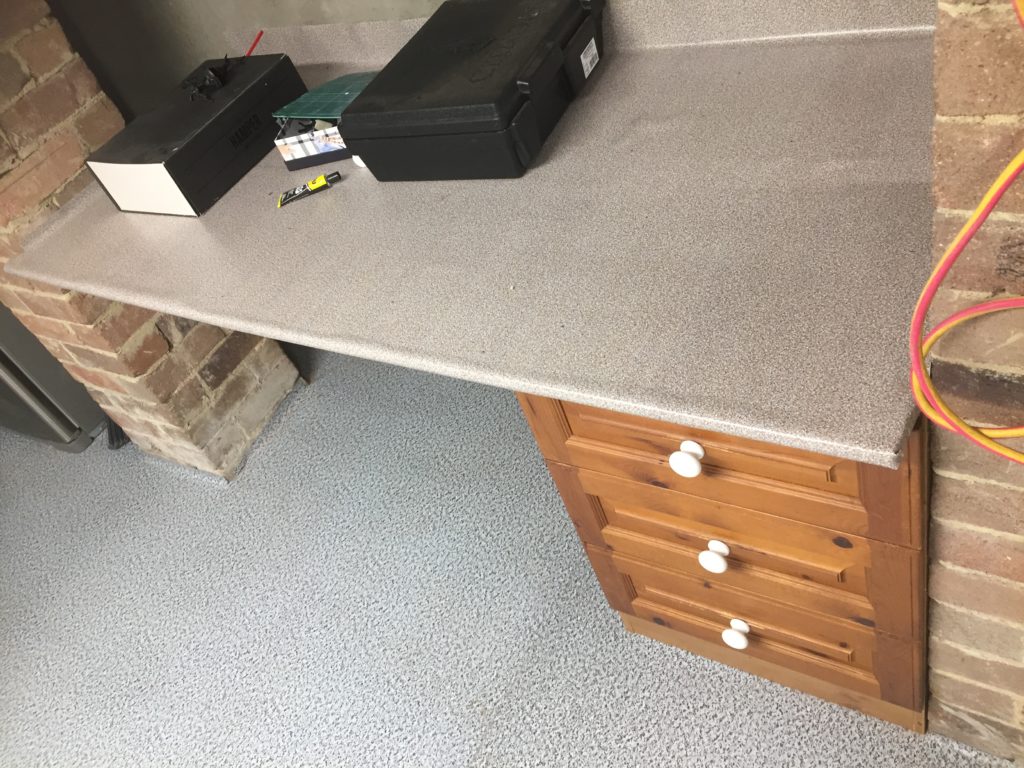
I then also added some spare particle board covered with vinyl and a cheap door between the brick posts to create 2 desks (one for me, one for my son).
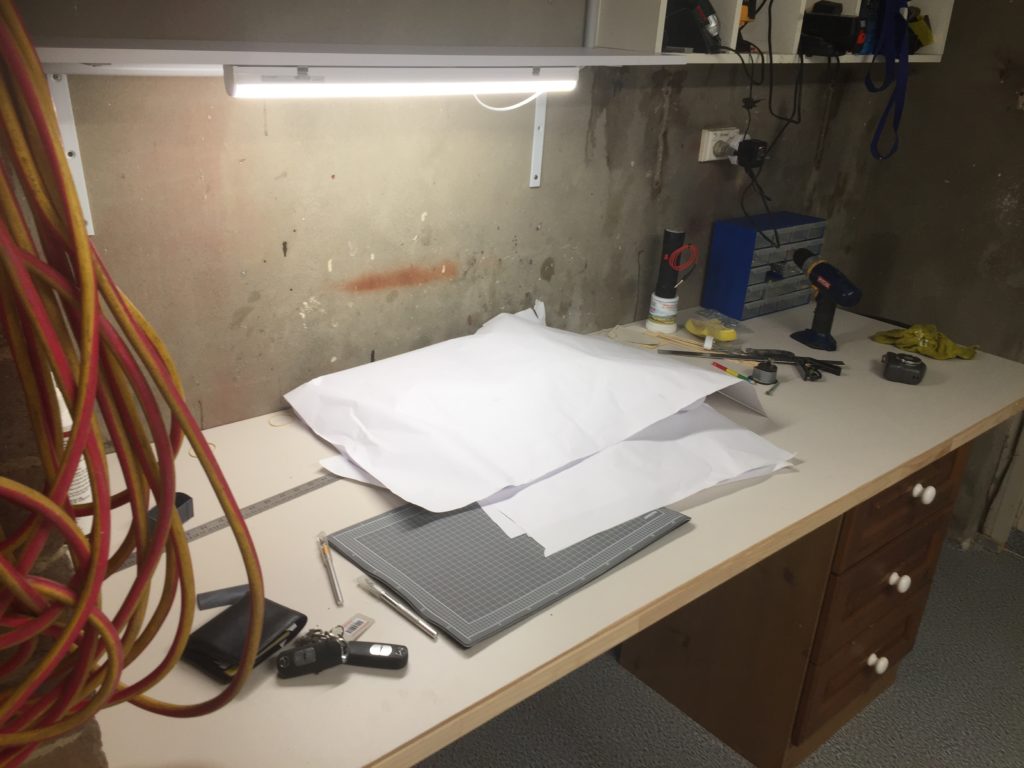
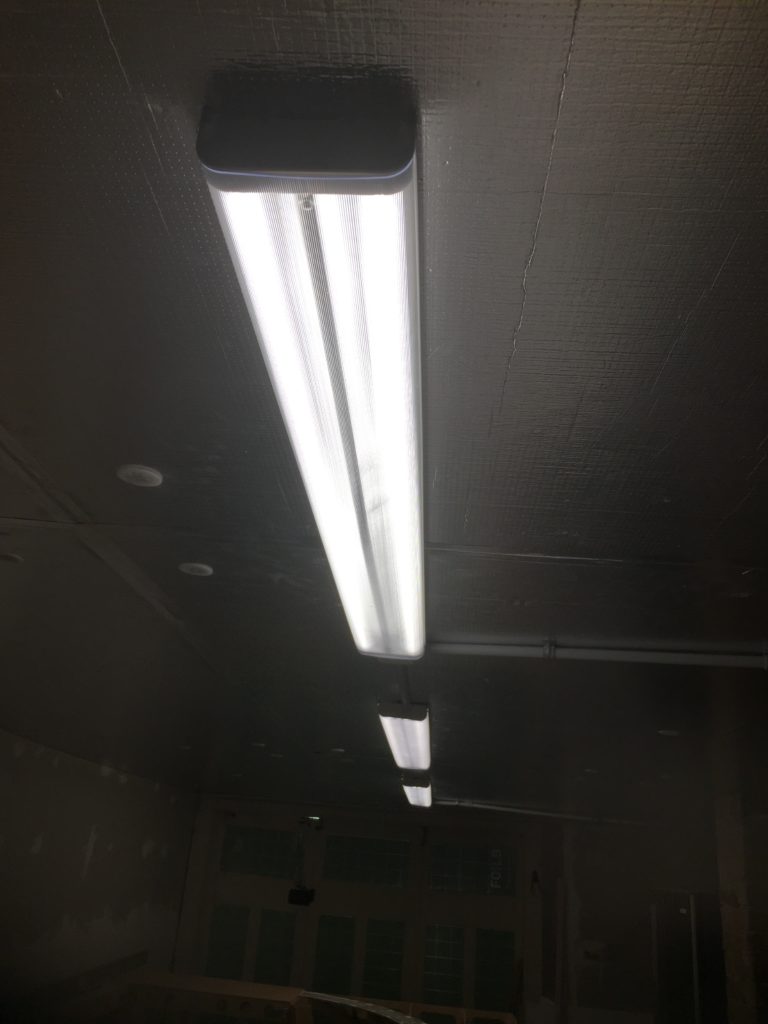
Finally replaced the lighting to something a bit better for the space.
